Tuesday, December 10, 2013

scrap playtime

Sometimes it is just fun to relax and play with scraps (especially after a week of sewing little tiny triangles and flying geese LOL)

So I played a bit!  First up, I "made" some fabric out of leftover strips...

and just straight line quilted it onto some batting..

Then made a couple of these little pouches..Best tutorial ever over at Noodlehead..the open wide pouch!

I didn't have many zippers on hand, so for a couple I had to use shorter zippers, so I added a tab to the end....

so I guess it wasn't an "open wide" pouch...but that was what I had for a zipper, so had to work with it ! :)

Great little stocking stuffers!

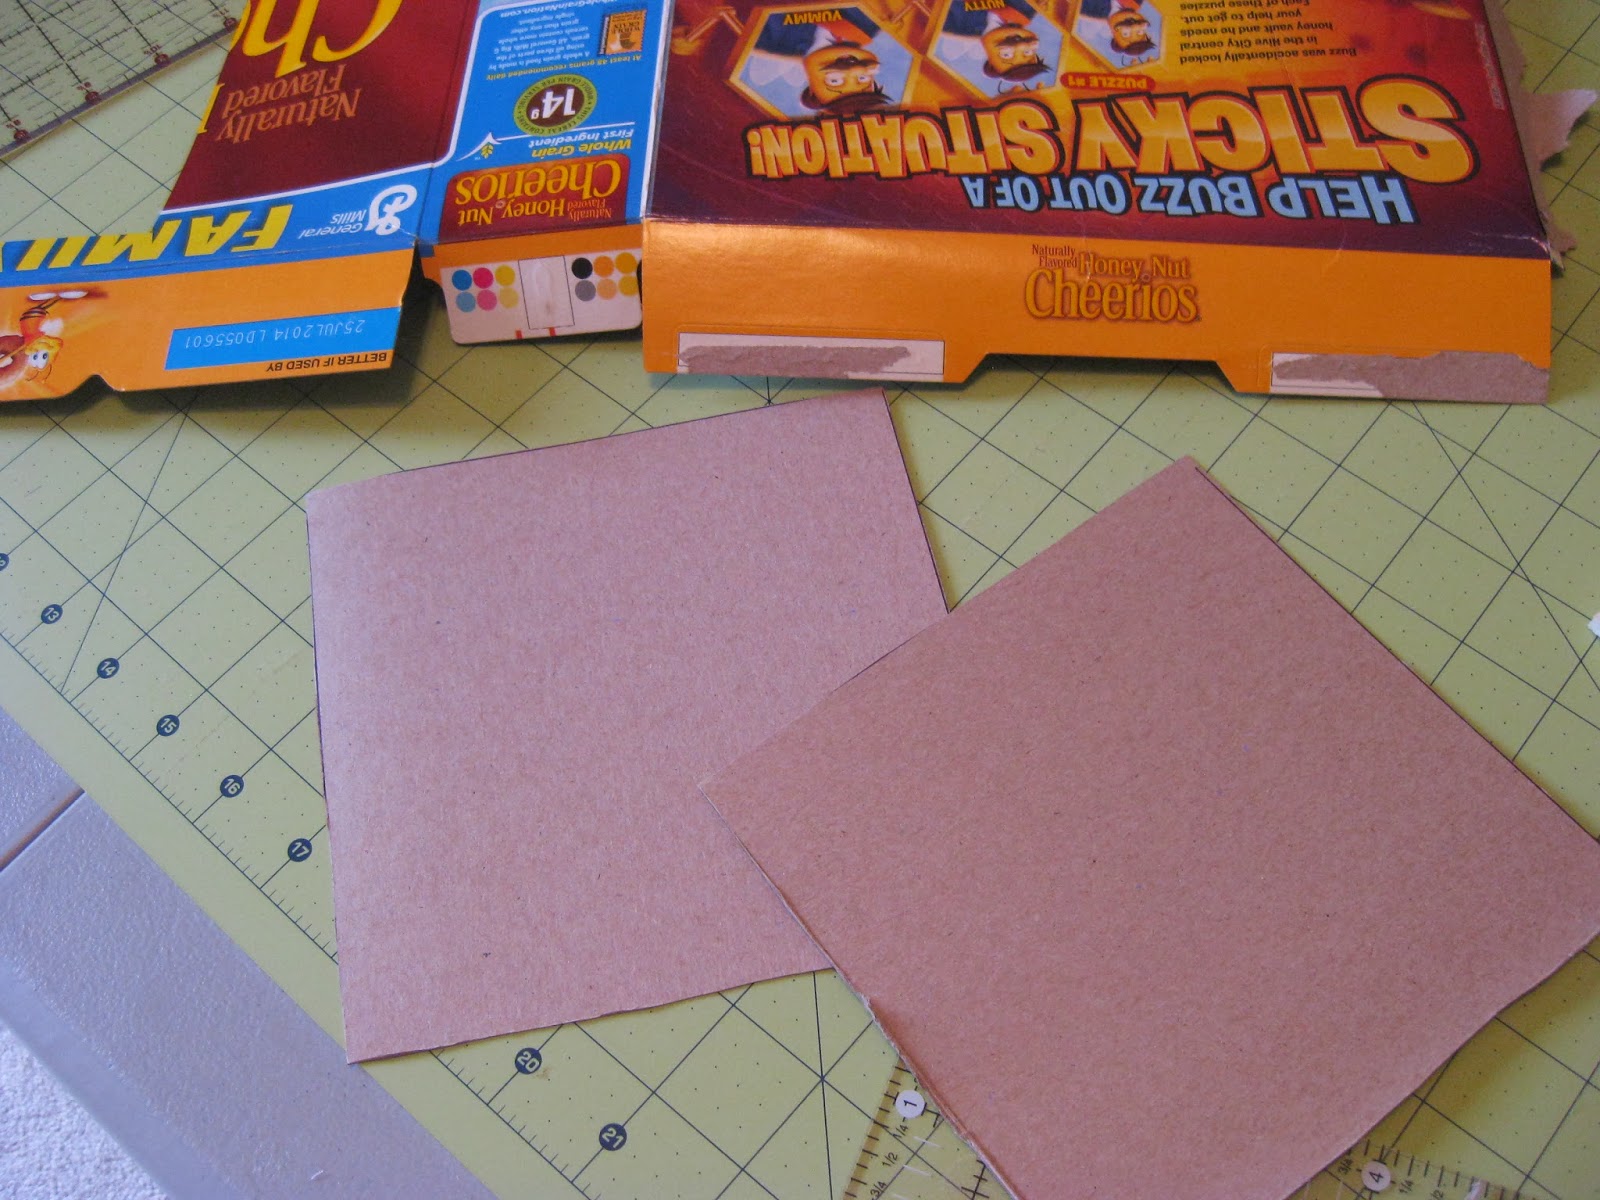
The next scrap project was a scrap box. When I am cutting and sewing, I like to keep a scrap box handy to toss all the trimmings and bits into. I have made these before, another great tutorial over at Sew Sisters.

I wanted this one to be a bit more sturdy, so I cut up my Cheerios box to add into the making..

On the bottom, I made a little pocket, to slide in the cardboard, and on the sides I slid the pieces in between the batting and the lining.

I added the cardboard once I had the sides sewn, then added the binding on the top.

Perfect...just what I needed!!

linking up to TN&TN...

Tuesday, December 3, 2013

next Christmas project..

I wanted to make a tree skirt for my son and DIL for their new home. I found lots of pictures and plans, but nothing quite what I wanted it to look like. I had a picture in my head. (of course!!) I wanted it round, with pie shaped pieces of different fabric, maybe with a scalloped outer edge.

I hate to sound like the Grinch...but I am not really a Christmas person (sorry)..so didn't really like all the really Christmassy fabric, BUT...I saw this...and it was perfect!!

So then on to the planning stage!  As I lay in bed one night I realized that the math was really pretty simple. If you cut a circle into 4...you have a 90 degree corner in the middle..divided into half makes a 45 degree corner and 4 wedges on each half of the circle.

If I wanted 3 wedges on each side....that would make each corner 60 degrees instead of 45 degrees, or I could make 6 wedges of 30 degrees! (easy peasy...right)

I know this is probably pretty obvious to most of you...but it was a true moment of clarity when I realized how simple it really was.

So I got out some paper. It would be helpful to have a big chunk..but I taped several sheets together. and using my quilting ruler, marked off a 45 degree line.
I decided I wanted this about 45" across when finished, so I used a pencil on a string, measured to 22" to draw the circle edge.

I added a 6" circle opening in the centre point by using the pencil on a 3" string to draw the circumference.
I cut this out and used it as my template.
Fabric requirements.. I used .6 metre of two different fabrics. 


 That gave me 4 wedges of each fabric. I used one side along the salvage...because it is round, there are going to be bias edges somewhere, and that fit the best on the fabric I had.

I sewed the wedges together, alternating the fabric, and leaving one segment open.

Once they were all sewn together, I sandwiched it with some batting and backing and quilted it up. I used a straight line echoing each seam, and a curvy line down the centre of each wedge.

On the opening I just turned under a 1/4" and stitched it closed. On one side I added 3 elastic ponytail ties for closures. (they were bulky and hard to sew in...I might try something different, or smaller ones next time)


Because I am lazy, I used store bought bias binding to finish the centre and outside edges.
I added some big buttons for the closure.

Anyway, I am really happy with how this turned out...I love it..I hope they do too.

Linking up to TN&TN
Right Click to Save Image

Thursday, November 28, 2013

flying geese update

Just a quick follow-up to yesterday's post about the Downton Abbey QAL and my trouble with the flying geese blocks...

I took all the suggestions and started work on the second batch of these blocks.

First, I tried them out of paper, to eliminate the problems with the bias edge..

I found that even with paper, it was very difficult for me to get them all exact!! And I should mention that I am usually pretty exact, so this was frustrating.

So I cut the corner square blocks 1/8" larger than suggested in the directions, and then trimmed them down after they were finished. Some I had to trim off the whole 1/8", and others not very much!

Spray starch also helps to reduce the problem of the bias edge.

But...it worked!!  Of course it helps that there is less contrast on these blocks too! I wish I had started with these, and done the black and mauve ones once I had improved my technique!

most of them are now pretty good..

there are still a couple that are off centre, but the points are there..

So I guess I can get off my horse now ..LOL  (Thank you Sharon!!)

Wednesday, November 27, 2013

Lady Sybil continues

I have been working on the second blocks for the Downton Abbey Mystery QAL.  I must admit it is truly a skill building experience for me!
                                           DABlogBadge
This week is a lot of little triangle bits, and flying geese!! (I knew there was a reason that I hated little triangle bits!!)  And because this is based on the EDeN system (designed for die cutting) you end up with a whole pile of little pieces to try to sew together.  I have used the "easy flying geese" method before, and did pretty well with that.

But......This....not so much! :(

I did get some perfect points!!
OK, to be honest, I got 2 perfect points!! (but who is counting???)

I got mostly "close call" points....

But I am sticking strongly to the "Horse Test"

For those of you who may not know what that is....it means that if you ride by the quilt on a horse, and don't notice the error, it doesn't count!
And I have a very tall, fast horse in my head !!
But really...they are not terrible...just don't look too close!!


Anyway, I have half of these blocks finished, and another batch to go. I have made a desperate call out to Sharon...at Vroomans Quilts, and she has offered me lots of great suggestions...so back to work here and see if I can improve!

Linking up to WIP Wed at Freshly Pieced
and TN&TN

See you next week!


Monday, November 25, 2013

getting organized

I am finding that I have bits of paper all over my work area. I print off free patterns and tutorials, just in case I want to make them. I still like having a paper copy to refer to as I am working.

So I decided to get a bit more organized. I went out and purchased a 3-ring binder, and some plastic page protectors..

So now each pattern has a home..

and it is all neat and tidy!!

Of course I didn't go so far as to organize the binder...so they are all jumbled up in there, but at least they are all in one place now!   That might be a project for another day :)

Sunday, November 24, 2013

Mr Random please.....

(add drum roll here ....)

What you have all been waiting for ..

the draw for the fabulous bundle of Bluebird Park fabric offered by Sew Sisters Quilt Shop..
                                  

And the winner is..

Ok...I just can't get the Random Number Generator to publish!! And I thought I had it all figured out this time !! Sorry! You will have to trust me on this one, I guess.  Anyway it drew # 268 and....

Congratulations Sheila of Fort McMurry AB!!

I have sent Sheila a message....Sheila, as soon as I get your home address, we will be sending out your pize!

And thank you again to Sew Sisters for sponsoring this wonderful Blogathon!!
It has been so much fun....and I have "met" so many new quilting friends!!
Looking forward to next year!
                         
                                               SewSistersQuiltShop

Saturday, November 23, 2013

Lady Sybil underway!

I finally got my Downton Abbey fabric!! It is really pretty...love the colours! I am making the Lady Sybil version.

If you missed my previous post, I have joined up with the Downton Abbey Mystery QAL over at Love Bug Studios.

                                      DABlogBadge
It has just started....so it is not too late to join in the funl!!

We got our directions for the first block...turned out pretty good, if I do say so myself!  The series starts off with an episode following the sinking of the Titanic, so the first block is the "Titanic"..

One word of warning, though...the directions are all written in the EDeN system.

This is specifically for die cutters, although there is a section for rotary cutting as well.
BUT you have to remember that when it asks for "4" of one of the pieces, it means 4 of the finished pieces. For example ....if the directions say - cut a 9" block, then cut in half on the diagonal - and you need "4", it means 4 of the finished triangle pieces.    NOT four of the 9" blocks!! Ask me how I know!

Oh well, hopefully I can use up the mistakes later in the quilt :)  Next block comes out on Sunday!  Can't wait...having fun here :)

And dont't forget today is the final day of Blogathon Canada...2 more fantastic Canadian quilters ..check them out...

Saturday, November 23ONJackie Jackie's Art Quilts
Saturday, November 23ONKristaKrista Quilts

                                             SewSistersQuiltShop