Friday, May 30, 2014

jelly bean finish

I had posted a while back about making this quilt. ....and how I thought it looked like jelly beans...

Well, I got it finished, and after all that , I really like it! I think the grey sashing and black border really helped to tone this down.

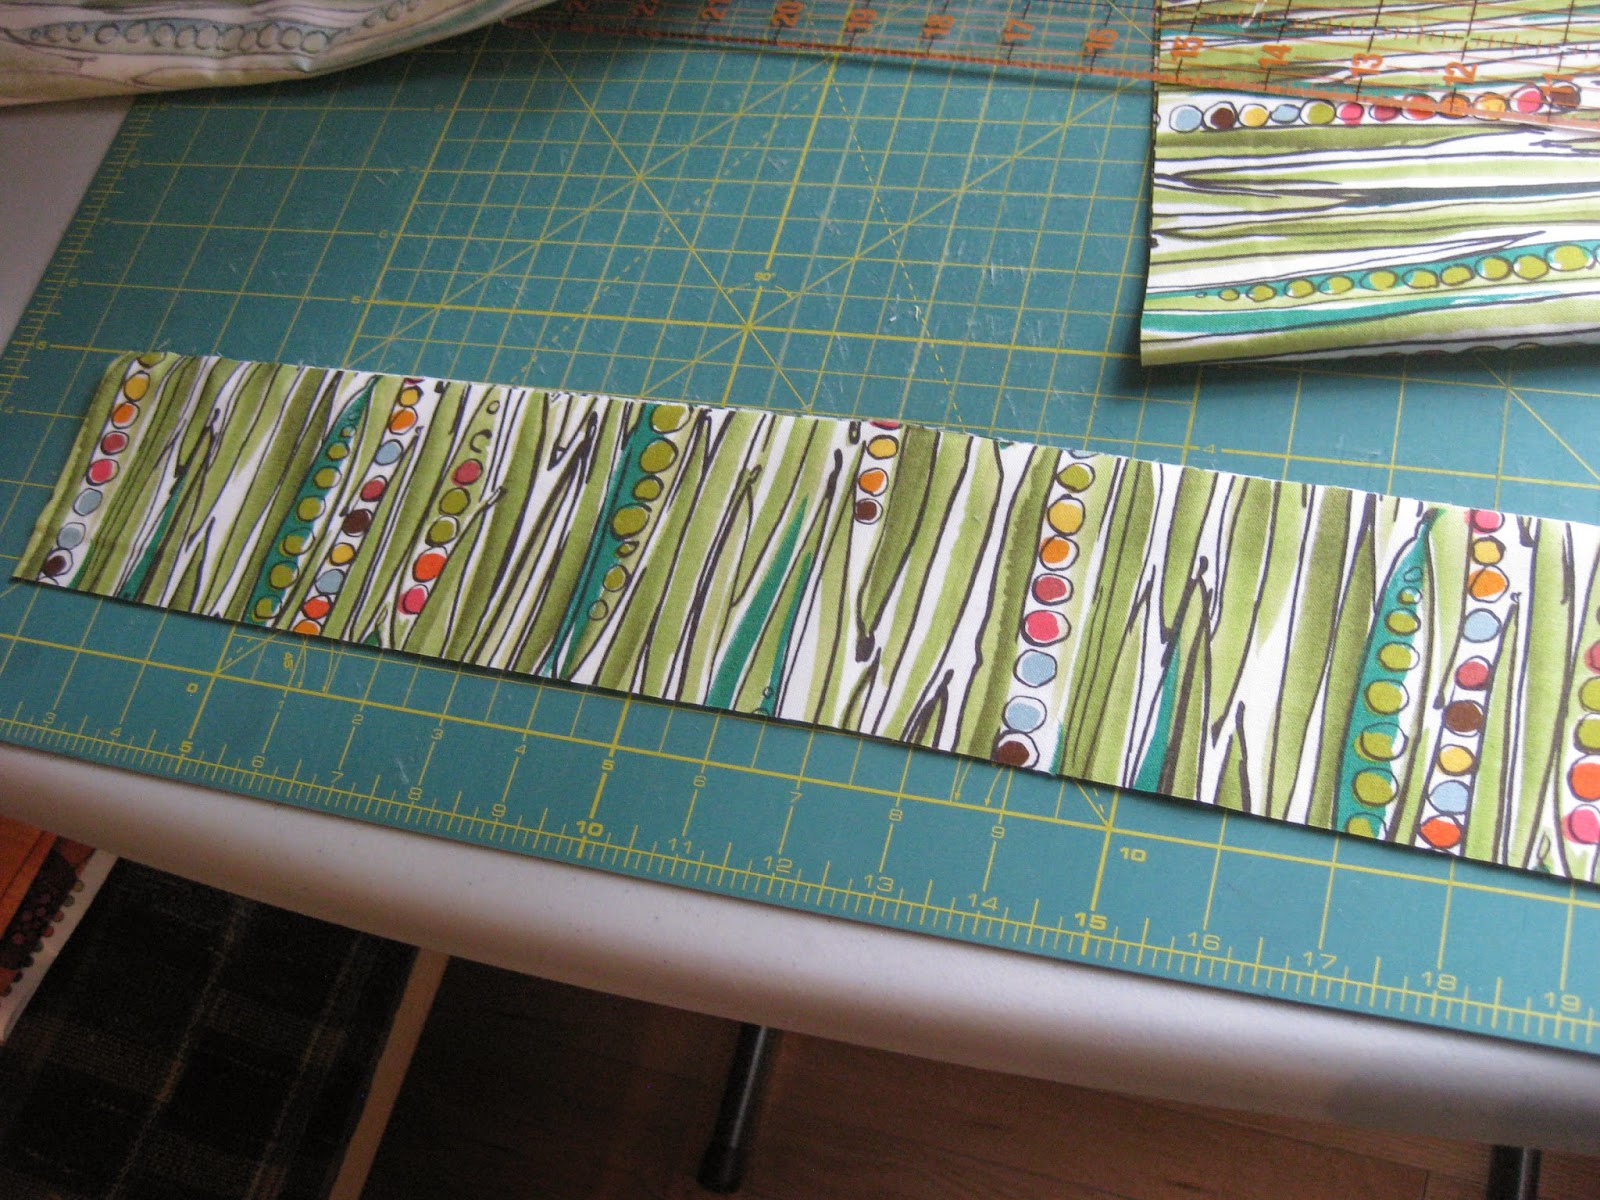
It is made from a "Barcelona" fat eighth bundle . I am not a big fan of orange, but here it sure adds a pop of colour.
The pattern is Alter Ego by Missouri Star Quilting.

The back is from my stash, and all the random bits left over from the front. As usual, I had to scrape together every last little bit to get it big enough. Some day I will plan ahead LOL

the quilting is all over "bubbles" design...a bit hard to see,but this is a close up.

I guess this goes to show that you need to keep trying when something doesn't turn out the way you like it the first time. :)

linking up to TGIFF  today over at MsMidge..  
.

Thursday, May 22, 2014

Child's Apron

I am babysitting my husbands 5 year old granddaughter for 10 days, so I am already lining up a list of things to do! Ten days is a long time when you are not used to having little ones around !! :)
So I decided that baking cookies would be fun....on the list !....but then she needs an apron!!
I picked up this fun fabric on the half price wall...perfect. I have made a lot of adult aprons, so just sized it down to kid size.

Materials:
1 metre fabric
1 button

Cutting:
Cut 2 pieces of fabric 24" x 21". One for the front and one for the lining.
  • This one will be lined with the same fabric, but you could use a contrasting fabric if you prefer.
  • You could also use 2 fat quarters, but you would need to size everything just a bit smaller


I used a dinner plate to cut the arm curve.  Save the cut out pieces for the pockets!

 Straps: Cut 2 pieces 21" x 3" for the waist ties, and one piece 15" x 3" for the neck strap.

Press strips  in half lengthwise, then fold in both sides and sew close to the edge along the long side, and one end.  (tucking the end in)

Pockets:  sew the 2 layers of armholes together..right sides together, leaving a gap to turn them. Use one of those decorative stitches on your machine , that you never use, to finish the curved edge. :)

Now to put it together:
Take one of the apron pieces and make it the "front" by placing the pockets and straps.

Sew them in place, leaving the pockets open part way on the curved side.


Sew the straps to the sides about an inch down from the armhole, and one end of the neck strap to the top right hand side of the top edge:

Pin the straps to the body, so they don't get caught as you are sewing the lining.  Place the 2 apron pieces right side together and sew all the way around, leaving a gap at the bottom to turn.

Clip the curves on the armholes..

Finishing:
Turn apron right side out, press, and then top stitch all the way around close to the edge, which will close up the turning gap too.   Make a button hole at the free end of the neck strap and add a button.

And that it is! You have a perfect little apron.


'And she loves it....and loves baking cookies too!

Linking up to TGIFF this week over at Georgia Girl Quilts!
                                                

Wednesday, May 14, 2014

WIP Wed

I have a few things in progress....a few just sitting in a pile, looking mournful....and many more bouncing around in my head!!

What is keeping me busy this week, though, is manhandling this one through my sewing machine...


It is pretty big..about 90"x 90"!  It reminded me why I like to make baby quilts!!

I also had to try my hand making a "Charm Pack Cherry". Fun little quilt....great free tutorial over at the Fat Quarter Shop! This charm pack was a Road 15 by Sweetwater. I have the top done, but am now trying to decide if I am going to add a little black  border, or just finish it at this size.

And a little bit of this....but more on this one another day :)


So I am now linking up to  TN&TN

And Lee's WIP Wed
                                                        WIP Wednesday at Freshly Pieced

Thursday, May 8, 2014

My first love

Do you remember when you first fell in love with fabric?
I do.
I used to sew clothing, but had never tried quilting, when I walked into a quilt store to look around. I was overwhelmed with the colours !  Love!!

I picked up what I later learned was a charm pack. I had no idea what it was , or what I could do with it, but I loved the colours. I dont even know what the fabric is, because over the years I took off the label and looked at them often!

So I decided it was time to use this charm pack up...now that I actually know what it is and what I can use it for LOL.

I used a tutorial from an older QAL by Melissa over at Happy Quilting..The Happy Quilting QAL. It is a disappearing 16 patch..really fun! (Thank you Melissa)
So I added a bit of white....and made up a little quilt. It is not very big...about 50"x 60".

.and some pink dot backing...

I quilted it up using a big loopy flowery FMQ...and my "bubbles" FMQ for the borders..

I dont know if I can give this one away....it is my "first love"

But I will link up with TGIFF.. this week over at Quilt Matters!


Wednesday, May 7, 2014

The Jelly Bean Quilt

Have you ever started making a quilt....and then hated how it looked??
I did!

I had a fat eighth bundle of Barcelona.They looked like such fun colours...

Barcelona Fat Quarter Bundle

So I cut it all up..I used a tutorial called Alter Ego,  from Jenny at the Missouri Star Quilting Co. (I love those little videos) But when I laid it all out....I hated it!!  It looked like someone had thrown up jelly beans all over the floor! (sorry...but that is what I thought )  So I put it away on a shelf and left it for awhile. ....sort of like sending it to its room for a time out LOL

When I took it out again, I decided to try and selvage it, so I am adding some dark grey sashing to each block, and will add a little black border, which I think will  really tone it all down.

So I am much happier with this now...it is not finished yet, but at least it is back in my WIP list, and not banished to the corner! :)

So...linking up to TN&TN
Right Click to Save Image

And WIP over at Freshly Pieced...
WIP Wednesday at Freshly Pieced

Friday, May 2, 2014

Sunnyside Up

I love yellow!   I am drawn to anything yellow! So when I saw this little charm pack of course I had to pick one up...OK I actually picked up two...but who is counting????
                                           
I was a bit surprised that it actually has a lot more blue and purple in it than I expected...still very pretty though..
                                           

So I wanted to try it out and decided a little baby quilt would  be a good way to see how it looked. I used another tutorial from Jenny at the Missouri Star Quilt Company called  Half Square Triangle Quilt.  

Very fun!!  I love it when a quilt is really easy, but looks like it takes a whole lot of work!! This is one of those.  I started with the charm pack, and a pile of 5" blocks of a off-white (not sure what this is...found it in my stash!!!)

You put one charm square right sides together with one neutral block, then sew all around the outside.


 Then cut it in both diagonals,

 and press open your 4 HST !!

 Easy Peasy!! When you mix them up ....it  makes a little block like this....


...and put it all together and this is what I got..

These little HST are so versatile too. I had another (different fabric)
charm pack, so thought I would try a different layout....


Same block totally different look .....I love it!   Both of them!!

So soft and pretty!!  I had minky that I brought home from Arizona that I  used for the backing.


I had never sewed with minky before....but it worked  out great. I didn't have any problems with it all....and it is sooooo soft! :)

So that is my finish for today.
Linking up to TGIFF over at Quokka Quilts.