What did I do this week? I played with scraps! And if you think that this was an effort to avoid going back to my MFQ again you are right!
I know I have a whole pile of new fabric...just waiting for me. But I can't resist saving the bits and pieces and playing with them! I had seen a picture in
The Quilting Gallery, of a Basket swap, so thought I would try to make one! (Although, I didnt participate in the swap...I think it is finished) I think there is a full tutorial linked to the Basket swap, but here is what I did......I made these little baskets... so cute...
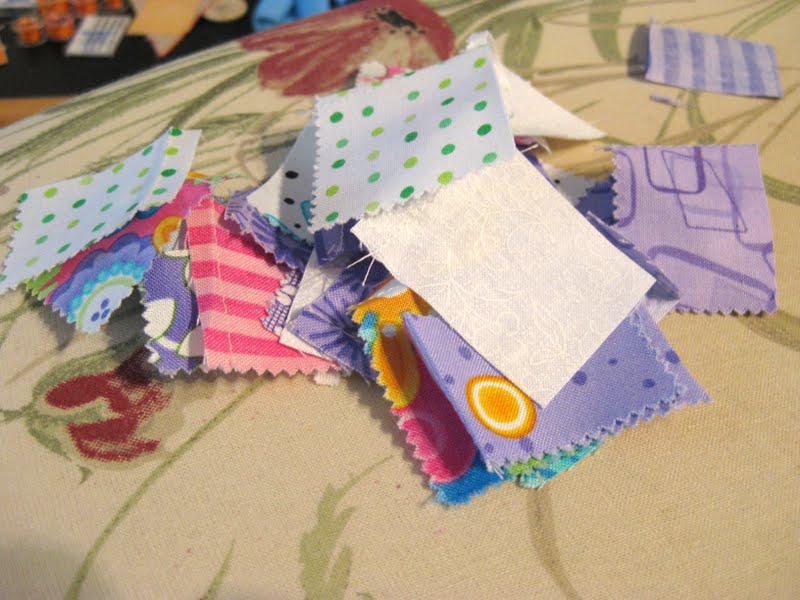
I just sewed the little pieces together randomly, some were about 1"! ....
until I got a piece big enough... this is the "Happy" scraps..
And this is the "Buttercup" scraps....
I added a bit of coordinating fabric....to make a piece about 8"x11". Of course you can make it any size you want, or have enough bits and pieces to sew together.
I sewed my patchwork piece onto some batting..
then squared it up..
Fold in half and sew both side seams...
Cut a piece of fabric the same size for your lining and sew the side seams, except leave a couple of inches open on one side to turn it later.
To make a flat bottom on the bag, fold and mark about 2"..
sew, and trim to 1/4.....do the same with the lining..
To make the 2 little handles, fold 2 pieces of fabric right side together, and sew, then turn right side out. Then top stitch both edges. I found these were too long, so cut them shorter. I found a piece 3"x5" make nice little handles.
sew the handles on about 1/2" on each side of the side seam, on the right side of the basket..
put the basket inside the lining ..right sides together
and sew around the top.
turn right side out and top stitch around the top, then slip stitch the opening in the side seam.
I tried some different sizes. This little red one was a 9 1/2 in square when I started, but it turned out kind of long and narrow!
I liked the 9'x11" size best.


These are very cool, and I love the breezy way you give us the tutorial without too many complicated steps. I've a mind to take my scap basket and start piecing things together and whipping one of these up myself.
ReplyDeleteI looked through the rest of your blog and smiled, because we both have a Finishing Friday (I call mine Finishing School Friday)--maybe we think alike. And the story about trying to get the FMQ done was lovely--if it's any consolation, a famous quilter once told us (in a class at Houston) that she NEVER drops her feed dogs either--like the rhythm of them. So you're in good company.
Elizabeth E.
http://occasionalpiece.wordpress.com
Your baskets are so cute! I have some small scraps that would would make a nice little basket. Thank you for posting the tutorial.
ReplyDeleteSo refreshing to see someone enjoy fabric to it's fullest. Such cute baskets - yes the swap is over - I have a lovely basket from France thru this swap. Keep enjoying the fun!!
ReplyDeleteThe baskets are great they would be very handy, and thanks for the tutorial.
ReplyDeletewhat a lovely way to use favorite scraps :)
ReplyDeleteLove your fabric baskets!
ReplyDeletevery cute little baskets - I can think of a million uses for them!
ReplyDeleteWhat cute little bags!
ReplyDeleteSo cute! I love bags of all kinds including fabric bags!
ReplyDeleteThis is such a great idea! Thank you for sending me this link. It's a perfect project to use the left over scraps from making my coming-soon daughter's quilt scraps! Then it will also match her room.
ReplyDelete