Friday, December 11, 2015

Final Applique Update: Everything is coming up TULIPS

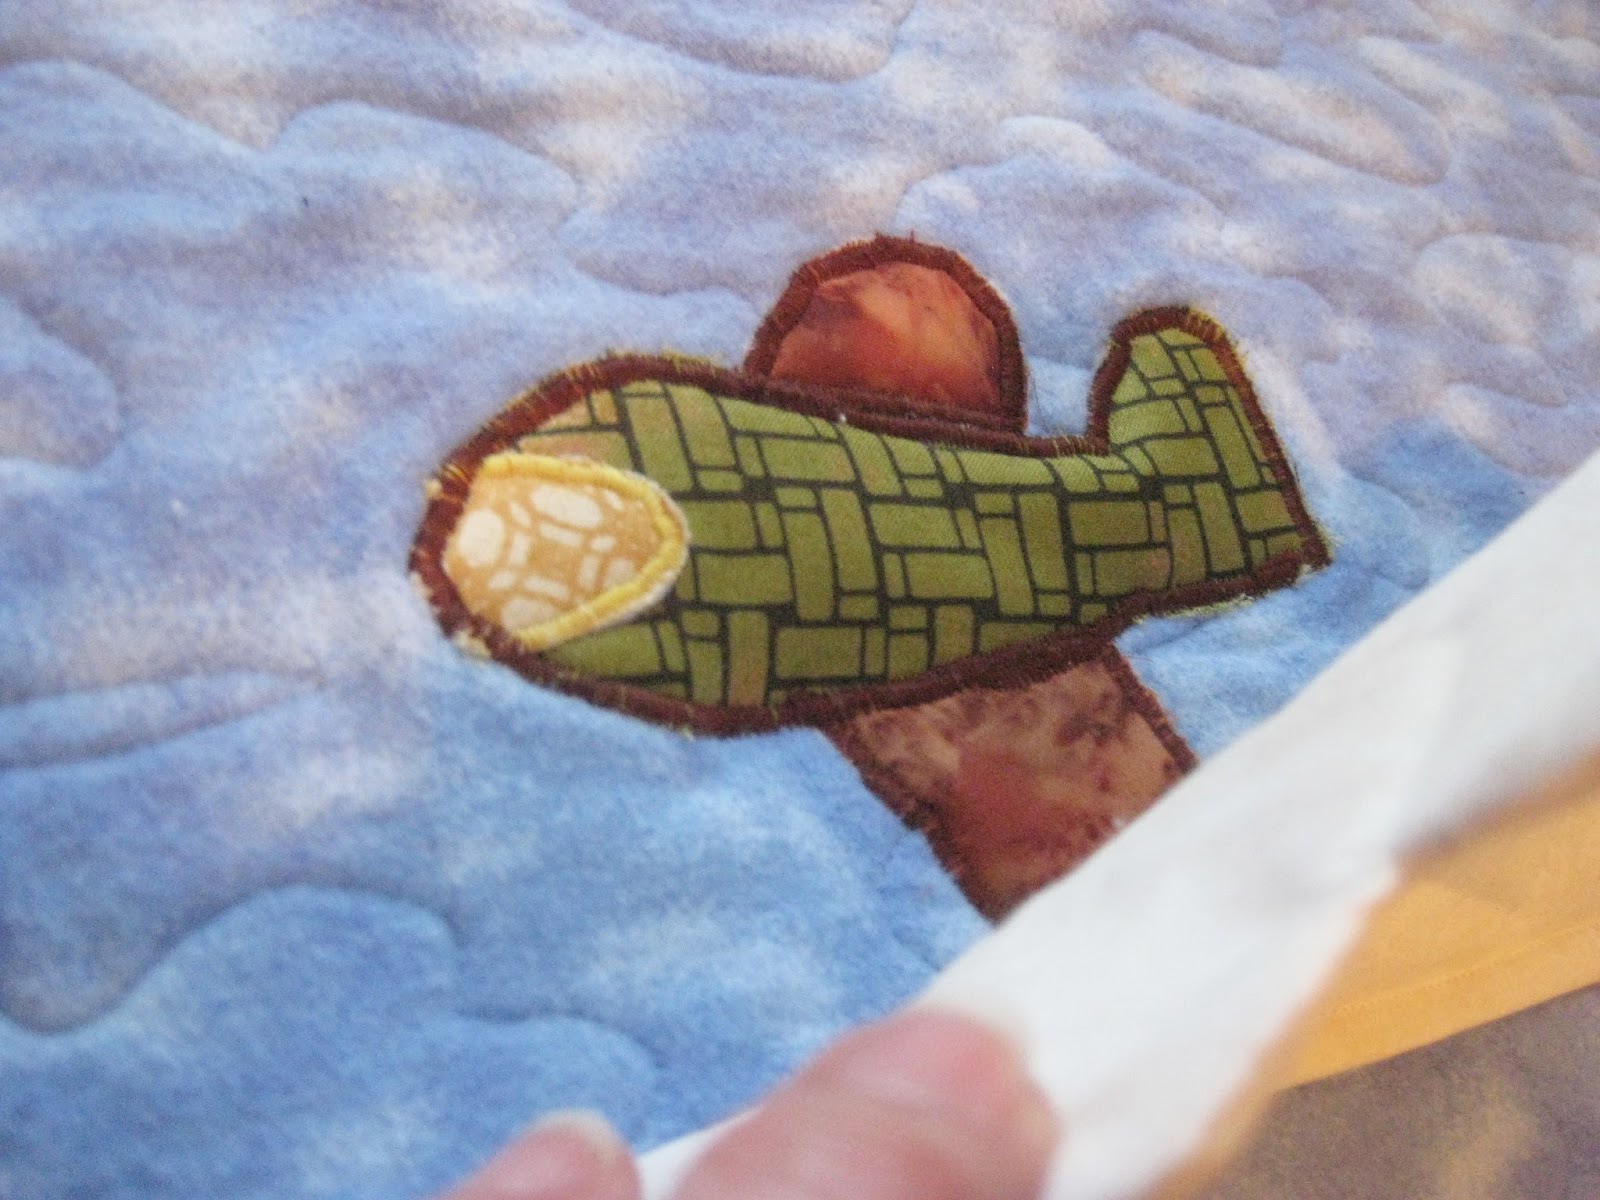
Many of you will recognize these blocks....

this has been a very long term project. You can check back and see some of the process here.

This was my "travel project" because it was easy to pack and transport.  And I finally finished enough blocks to make the size I wanted.

So I sewed the rows together, added some borders and finished the quilt top.....

then it sat in my sewing room for a very long time, because I was afraid to start quilting it!  Does that ever happen to you?  I had put so much time and effort into the hand appliqued blocks, I was afraid that I would ruin it with the quilting!

This quilt has so much negative space...and white!! So all my stitching will show!!  YIKES!!

But my DH was out of town for a couple of weeks, so I decided my goal would be to get the quilting DONE!!

Ok....now where to start??

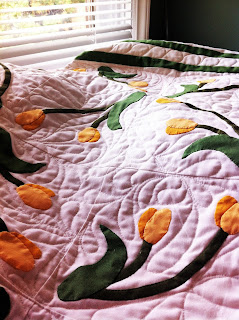
Well, with my new found skills at feathers....I thought I could figure something out!  I started with the outer edge of the tulip pattern.  I know, I know....all the quilt police will be drawing a gasp of alarm at this faux pas!  But that is what I did....so there :)

Again, I started drawing my pattern out on paper

Once I was happy with the pattern I drew it onto the fabric with a pink quilters pencil.  Chalk wouldn't work because the fabric was white. And yes, I did test it and wash a sample first to be sure it would come out, but I was still very nervous colouring pink marks all over this!!

But all was good!

Then I worked on the centre parts of the pattern , again practicing first on paper.  I didnt use the pink pencil for these.  It got too confusing, so I actually just kept the drawing close by and went free hand (so to speak)

Not every part is exactly the same, but really, who is to know!!


I found that I could break this down into smaller segments, and just repeat them.  Not so intimidating when you take one small bite at a time!


Then on to the borders!  I wanted to try my feathers out again....so here we go!

Not perfect, but I am pretty happy with them!

And it is finished !!  I can hardly believe it myself!

This was a long time in the works...

And I think the quilting turned out well,  I guess I didnt have to worry about it for so long!!

So my tulips are in full bloom now!

My Finish!!  linking up to TGIF at Quilt Matters

Wednesday, December 2, 2015

play mat in progress

I have had an idea in my head for awhile now for a play mat for my baby grandson.   It looked like a good idea...when it was in my head!

I must admit ....it is a lot more work than I had anticipated.....of course that is usually what I find! Guess I don't start out with realistic expectations sometimes.

Anyway, it started with lots of sketching of ideas...

My thought was to have a kind of "peek-a-boo" mat,  where there was a picture hidden under the leaves on trees and behind rocks and grass.

 So.....first step was to create the backdrop.....a sky, a hill, a pond and a tree trunk.

I sandwiched a layer of batting and some flannelette backing and did some quick FMQ.  Some little waves in the pond, clouds in the sky and grass in the hilly parts.


So far so good!!

Then on to the added features... a smiling sun.. and a few little creatures.

I used lightweight fusible fleece on the fabric before cutting out the little creatures, and the sun, airplane etc.  For the small details like the bird wings, and eyes I used fusible interfacing then a zigzag stitch to hold them.

Then on to the tricky part. Each of these little creations had to be appliqued onto the background!  I used a zigzag stitch to applique them in place, which meant a lot of rotating the quilt around and around!  Fortunately it is a small quilt!  The "Berenstein Bears" saying kept running through my head...."And this is what you should not do !!!!"

But I did get them all attached.

And then added the covering leaves, cloud etc.

So when you peek under each leaf...there is a surprise...

under the cloud....an airplane!

A bunny hiding in the bushes..

In the pond ,

 a surprise under the water lily!

I am not sure that this was really worth all the effort..but it is almost finished , and that is what he is getting for Christmas!! I just have to add the binding.

Linking up to TN&TN .  Hope everyone else is have a good week! 

Friday, November 20, 2015

Sonja's Windows - a finish

This was started a long time ago!  Using up my scraps (well a few of them anyway)

You can see details about the process here

It is a pattern called Sonja's Windows and the instructions a detailed over at Stitchin' Therapy.

It went together more quickly than you would think, and I love seeing all the little bits from other quilts mixed in here.

I used some leftover bits for a highlight on the back as well...

This one I quilting with what I call "Bubbles", really just a circle within a circle and travel around the quilt..

This one is proudly hanging on the bunk beds at the cabin..

Linking up to TGIFF today over at Anja Quilts.

Wednesday, November 11, 2015

Quilting Feathers...my learning journey

  •     
Before I start, I just want to say thank you to all those who serve our country, on this Remembrance Day.

Now to move on to my latest adventure in quilting....

I wanted to share my learning process for quilting feathers.  I am certainly no expert,, but sometimes that is a good thing. I can tell you about the mistakes I made, so you don't have to! LOL

I am in awe of some of the quilters out there that make such beautiful feathered patterns. There are a number of great tutorials too, so please check with the experts for a more experienced view on this.
Here are a couple that I found very helpful:  Sue Garman  and How to Quilt Feathers

I wanted to use the feathers in the border, so I started on paper. I measured out the 6" border and started practicing the design.  I find it very helpful with any FMQ to start first with pencil and paper..

Although I think there are many ways to do these, I started with the long curved stem bottom to top, then started coming down the convex side with the feather loops..

When you get to the bottom, most instructions say to go back up the stem and then repeat the feather loops on the other side, The issue I had with doing this, was that I wanted to travel all the way along the border, so wanted to finish at the top in order to move on up to the next feather! mmmmmm

BUT I also found one tutorial that suggested going up with the feathers. A "Loop and Bump" method.  You make the first loop..


 then for the second one, travel up the stem and out to form the loop..

Then retrace the outer edge of that loop a short ways and "bump" up into the next loop.
Continue to repeat those 2 steps all the way up the stem.
So now I finished at the top of the feather, and was ready to move on to the next one, just repeating the process.  I alternated the direction of the stem curve each time.

Next step was to practice on some smaller scrap blocks... I drew the feathers onto the fabric with chalk first, then tried it out..

I had read somewhere that you can use Press and Seal to make it easier.  You press it onto the area you want to quilt, then draw directly onto the Press and Seal with a pen.Then you can just follow the lines.  The problem I had was removing the plastic afterward!!

This was just too much work for me!  I am basically pretty lazy and will take the easiest route, and this just added extra work, so I quickly scrapped this plan.

Back to the practice pieces. In the beginning I had problems with the thread breaking....a lot!  Very frustrating!!  So back to reading blogs and tutorials about what I was doing wrong!

Blogland is such an amazing place! I found someone who had the same problems and suggested that it was better to move the fabric away from you as you were sewing (like you normally do for a seam) rather than pull it towards you as you travel down the stem.  Now with FMQ you actually go all different directions, so I couldn't really see how this would make a difference, but thought it was worth a try. The only problem was that all my practice sketches were upside down then!!! So I had to practice drawing them the other way...

Low and behold....it worked!!!  Now, I am not sure that change is what made the difference, or if I was just holding my head differently, or wearing different socks!!!  BUT  the feathers went very smoothly after that.  

It is important to try to keep the size of the loops as consistent as you can.  Easier said than done sometimes! But it is a learning process.  Also, sometimes I should have made my loops more even in length, and to fill the border more consistently. 

                                         
The other thing I did was measure the length of the border and decide how long to make each feather, so they would fit nicely into the length.  Then I sketched out the whole border on one side at a time with chalk so that I had a reference to follow. 

My feathers certainly are a bit rough around the edges, but I am very proud of them, and will keep working on practicing.  Can only get better!! 

They are quite fun to do....go ahead....give them a try! 

Linking up to TN&TN....check out what is going on with everyone else here!

Friday, November 6, 2015

Vico anyone? and FEATHERS!!!!

Do you remember Vico?  That delicious chocolate milk that we used to drink as kids?  I lived on a farm, so we didn't get this treat very often, and so I thought it was extra special.

Anyway, the soft brown in this quilt reminds me of Vico so that is what I keep calling it when I refer to it!


This was a layer cake (Papillon by Moda) that I had been saving because I couldn't decide what to do with it.


I decided to try out the layer cake HST's....easy peasy!!  I have since found a Missouri Star Tutorial that explains the technique (love those tutorials!!)  Basically, you put 2 - 10" squares RST, sew all the way around the outside, then cut across on both diagonals.  And presto....you have 4 HST!   I have been using a lot of HST lately, there are so man options for the layout that totally changes each look. For this one, I off-set the square.

I have to admit, when I got it sewn together, I wasn't really happy with it.
It was very pastel, very soft, very pink and blue!
BUT I found some brown for the border, and it changed the whole look!! (seems like I am using a lot of brown these days....and I never use brown!! Must be a phase I am going through! )

I was a bit short for my backing, so had to add a little strip of contrast in to make it big enough..

I quilted it with my "go-to" echoed teardrop pattern all over...

AND ..... I tried ou tFEATHERS in the border!!!!!!   Yes, I did!!!  Not perfect, but it was my first try.

It was a learning experience and I think I will tell you all about it in another post.  I learned a lot, but still need lots of practice!

Linking up today at TGIFF over at Quokka Quilts