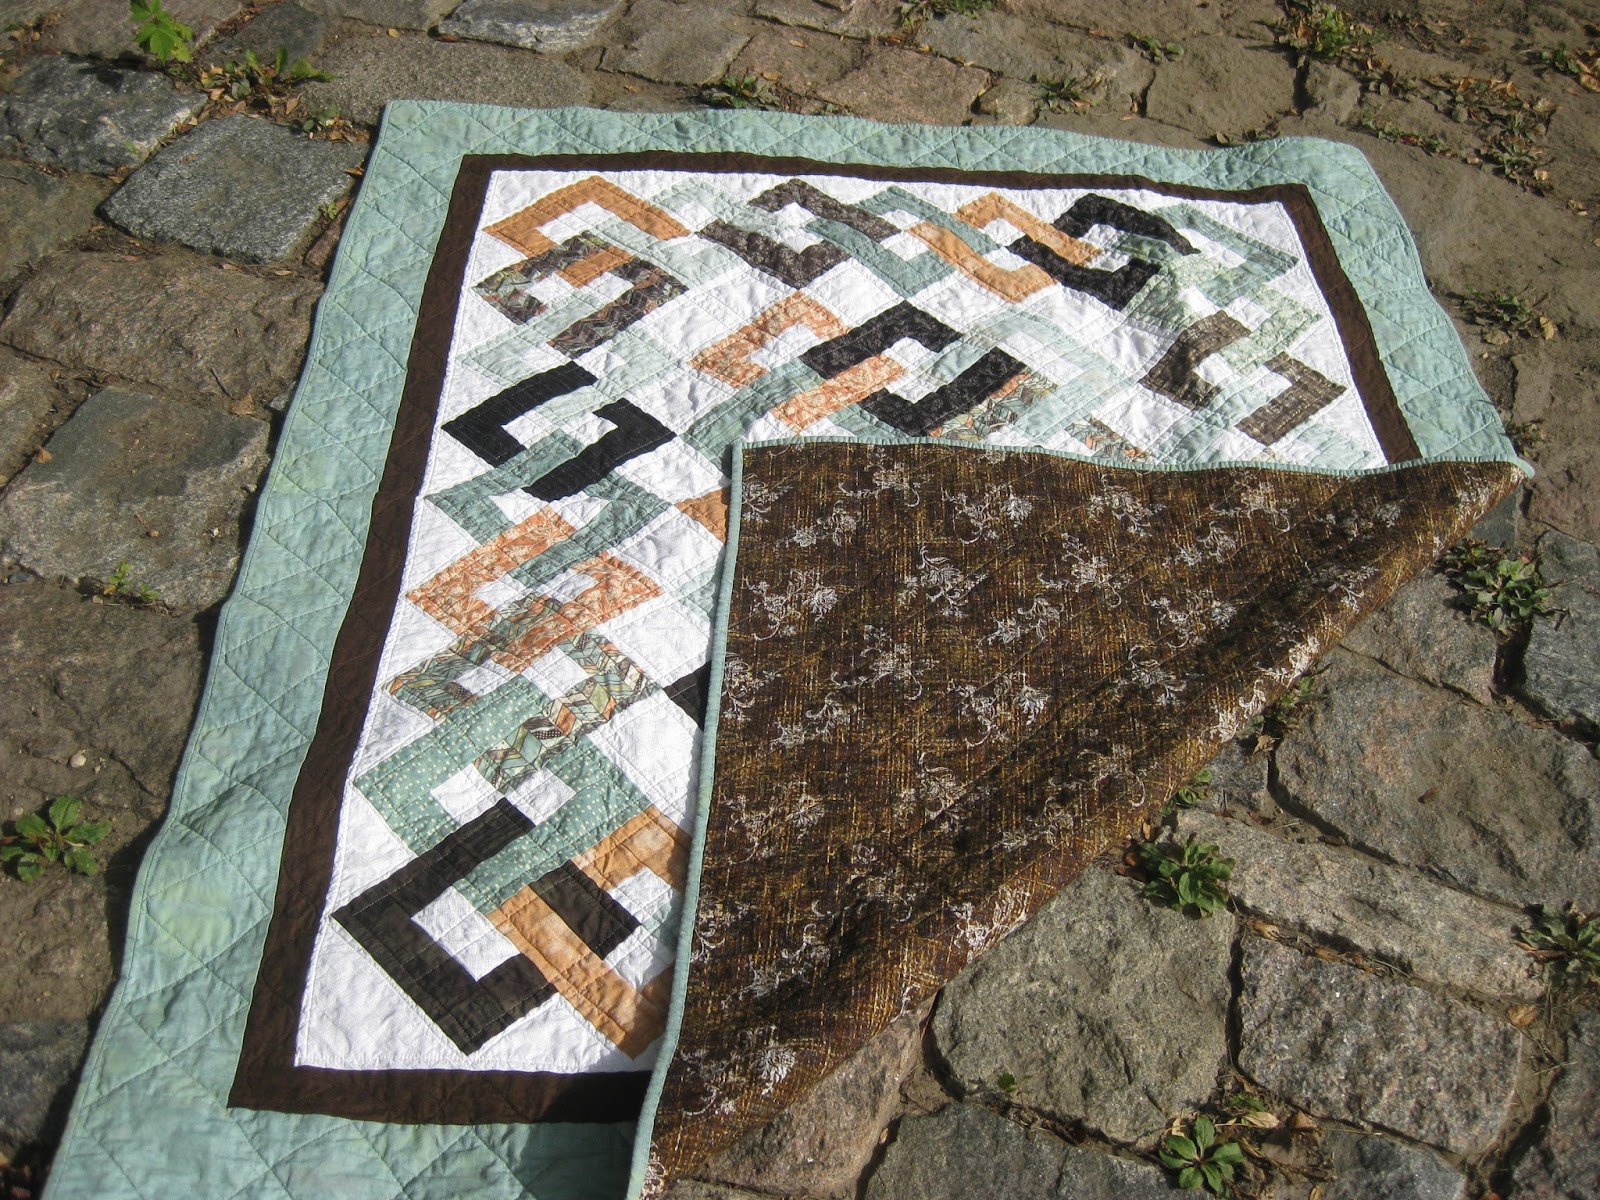
I have a dear friend whose daughter is having a baby......so .....of course I need to make a baby quilt!!
I have wanted to try a "Herringbone" for a long time, so thought this was the perfect time. I had some Riley Blake Basic Grey charm squares which would be perfect! I cut some 5" squares from some white fabric, and got to work. I used 32 of each which made a baby quilt of about 36" square. If you want it bigger, you can add more sets of squares.

If you haven't discovered the magic of HST ....you really should try them! They are so versatile and not nearly as hard as they look. I used to be scared to try all those pointy bits, but really they are easy-peasy! :)
Place one grey square, and one white square , right sides together, and draw a pencil line across the diagonal. Repeat this for all the pairs of squares

Then sew a 1/4" seam using the pencil line as the outer edge. You can chain piece all the sets of squares.

Now repeat on the other side of the line, again chain piecing the whole lot

Once you have them all sewn, cut each set along the pencil line.


Press the HST open, pressing to the dark side..

Now comes the annoying part....trimming!
I sometimes think about skipping this part, but it really does make it much easier later to sew the squares together, and also gets rid of those little dog ears, which only make the seams bulkier....so a-trimming-we-will-go !
Line the diagonal line on the ruler up with the seam, and carefully line up the edges..

Sometimes there is almost nothing to trim, other times there is a bit.
Because there is a seam in the middle, often the ruler will wobble a bit, so be sure to hold it firmly.

It is tedious work, but once you get into a rhythm it goes pretty quickly. Then you have a little pile of perfect 4-1/2" HST and a little pile of trimmings!

No, the trimmings are not garbage...they go towards stuffing my "batting bears"

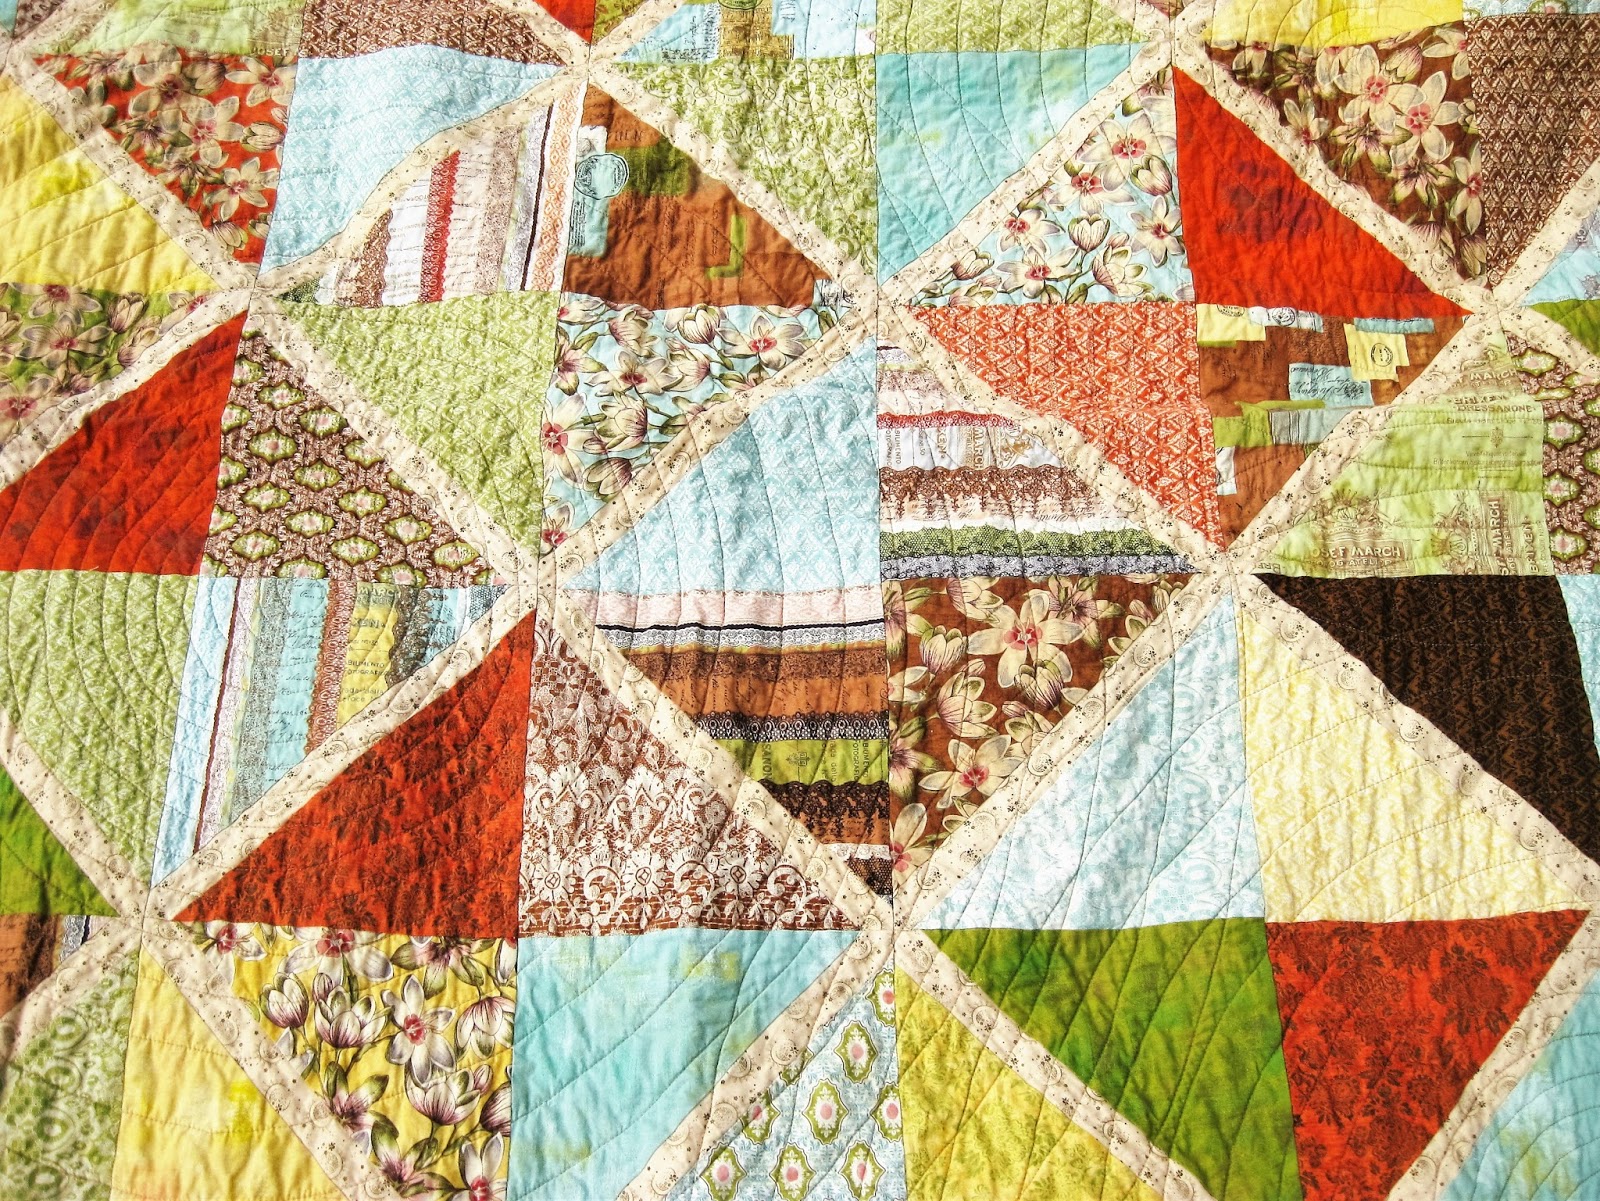
Now the fun begins! HST's can do so many interesting patterns!
Herringbone..

Chevron..

Offset Squares..

I am sure there many other options as well,but I went with the Herringbone. To make the Herringbone pattern you need to keep both halves of the HST set together, and alternate the direction that they angle.
Once you get them organized the way you like them,, sew the squares together by row..

When you are pressing the seams, be sure to alternate directions on the rows so they "nest" together nicely when you sew the rows together.
 Although I generally press my seams to one side, I find that these seams can get quite bulky, so usually press them open in this case.

Once you have sewn the rows together the top is finished!
I used minky for the backing and quilted it with zigzag lines echoing the seams..

I still have to get the binding on and then it will be ready for the baby bag!

I will add a few other goodies....some receiving blankets and burp cloths and maybe a "Grab and Go" diaper clutch. But that is for another day :)
So that is what I have been doing...as well as lots of cuddles for my new little grandson..

Linking up today to TN&TN....and going to check out what everyone else is up to !

I have wanted to try a "Herringbone" for a long time, so thought this was the perfect time. I had some Riley Blake Basic Grey charm squares which would be perfect! I cut some 5" squares from some white fabric, and got to work. I used 32 of each which made a baby quilt of about 36" square. If you want it bigger, you can add more sets of squares.

If you haven't discovered the magic of HST ....you really should try them! They are so versatile and not nearly as hard as they look. I used to be scared to try all those pointy bits, but really they are easy-peasy! :)
Place one grey square, and one white square , right sides together, and draw a pencil line across the diagonal. Repeat this for all the pairs of squares

Then sew a 1/4" seam using the pencil line as the outer edge. You can chain piece all the sets of squares.

Now repeat on the other side of the line, again chain piecing the whole lot

Once you have them all sewn, cut each set along the pencil line.


Press the HST open, pressing to the dark side..

Now comes the annoying part....trimming!
I sometimes think about skipping this part, but it really does make it much easier later to sew the squares together, and also gets rid of those little dog ears, which only make the seams bulkier....so a-trimming-we-will-go !
Line the diagonal line on the ruler up with the seam, and carefully line up the edges..

Sometimes there is almost nothing to trim, other times there is a bit.
Because there is a seam in the middle, often the ruler will wobble a bit, so be sure to hold it firmly.

It is tedious work, but once you get into a rhythm it goes pretty quickly. Then you have a little pile of perfect 4-1/2" HST and a little pile of trimmings!

No, the trimmings are not garbage...they go towards stuffing my "batting bears"

Now the fun begins! HST's can do so many interesting patterns!
Herringbone..

Chevron..

Offset Squares..

I am sure there many other options as well,but I went with the Herringbone. To make the Herringbone pattern you need to keep both halves of the HST set together, and alternate the direction that they angle.
Once you get them organized the way you like them,, sew the squares together by row..

When you are pressing the seams, be sure to alternate directions on the rows so they "nest" together nicely when you sew the rows together.


Once you have sewn the rows together the top is finished!
I used minky for the backing and quilted it with zigzag lines echoing the seams..

I still have to get the binding on and then it will be ready for the baby bag!

I will add a few other goodies....some receiving blankets and burp cloths and maybe a "Grab and Go" diaper clutch. But that is for another day :)
So that is what I have been doing...as well as lots of cuddles for my new little grandson..

Linking up today to TN&TN....and going to check out what everyone else is up to !